

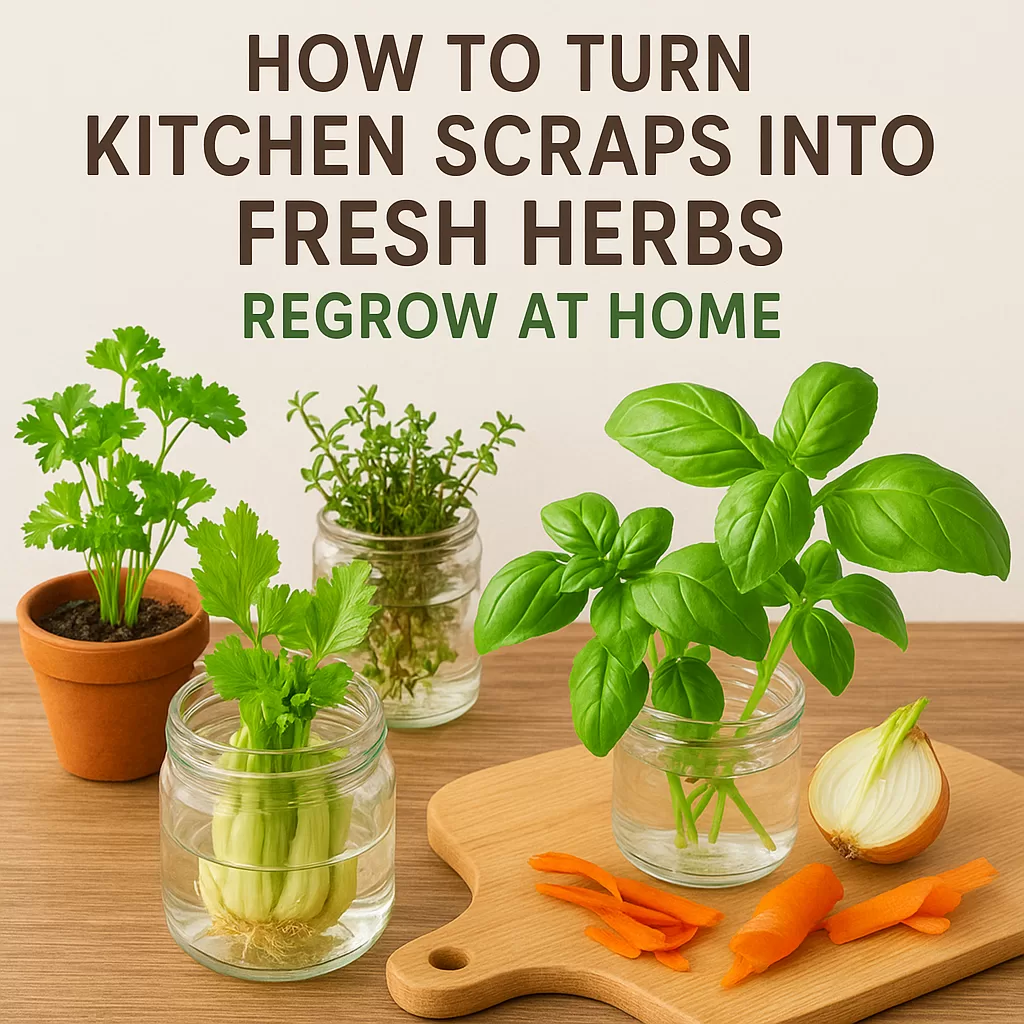

Turn Kitchen Scraps into Fresh Herbs (Regrow at Home)
If you love cooking with fresh herbs, you know how quickly they can be used up or wilted. Instead of constantly buying new packages, why not regrow your own herbs from kitchen scraps? This sustainable and budget-friendly method not only reduces waste but ensures you always have fresh greens right at your fingertips.
In this post, you’ll learn how to turn common kitchen scraps into flourishing herb plants, so you can enjoy fresh flavors all year round.
Why Regrow Herbs at Home?
Regrowing herbs from scraps is an easy way to:
- Save money: No need for pricey plant starts or fresh herb bunches.
- Reduce waste: Repurpose what would have ended up in the compost.
- Enjoy fresh flavor: Harvest herbs anytime indoors or on a windowsill.
- Connect with nature: Growing your own food enhances mindfulness and satisfaction.
Many kitchen herbs naturally regrow from roots, stems, or leaves, making them perfect candidates for regrowing projects.
Which Herbs Can You Regrow from Scraps?
Here are some popular herbs that respond well to regrowth from kitchen scraps:
1. Green Onions (Scallions)
- How: Place the white root ends in a jar with water, roots down.
- Growth: New green shoots will begin to sprout within a few days.
- Tip: Change water every few days and trim the green shoots as needed.
2. Basil
- How: Snip 4-6 inch stem cuttings just below a leaf node.
- Growth: Place cuttings in water and wait for roots to develop.
- Tip: Transfer rooted cuttings to soil once roots are about 2 inches long.
3. Mint
- How: Similar to basil, cut healthy stems and submerge in water.
- Growth: Roots will grow in 1-2 weeks.
- Tip: Mint spreads quickly—use a separate pot to avoid overgrowth.
4. Cilantro
- How: Place the base of the stem in water.
- Growth: Roots grow from the base and new leaves will sprout.
- Tip: Be patient; cilantro regrowth can be slower, but worth the wait.
5. Rosemary
- How: Take semi-hardwood cuttings and root in water or soil.
- Growth: May take longer, but once rooted, rosemary thrives indoors.
- Tip: Provide plenty of bright light for optimal growth.
6. Parsley
- How: Place ends of stems in water until roots form.
- Growth: New growth takes several weeks.
- Tip: Use well-draining soil if transplanting to a pot.
Step-by-Step Guide to Regrowing Herbs from Kitchen Scraps
Materials Needed
- Kitchen scraps of your chosen herbs
- A small glass jar or container
- Fresh water
- Potting soil and pots (for transplanting)
- A sunny windowsill or grow light
Instructions
Select your scraps: Choose healthy, fresh stems or root ends. Avoid any with mold or damage.
Prepare the cuttings: Remove lower leaves to expose stems for rooting. Cut just below a leaf node to encourage root growth.
Place in water: Submerge the stem bases or root ends in a jar filled with fresh water. Make sure leaves are above water to prevent rot.
Change water regularly: Replace the water every 2-3 days to keep it clean and oxygenated.
Wait for roots: Depending on the herb, roots will develop in 1-3 weeks. Look for white, healthy roots about 1-2 inches long.
Transplant: Once roots are established, pot your herbs in fresh soil and place them where they get at least 6 hours of sunlight daily.
Care: Water as needed and snip herbs regularly to encourage bushy growth.
Tips for Success
- Use filtered or distilled water if possible; tap water may contain chlorine that can inhibit rooting.
- Avoid direct, intense sunlight during the rooting phase to prevent cuttings from drying out.
- Keep an eye on development and trim any rotten parts immediately.
- For best flavor, harvest herbs in the morning after dew has dried.
Benefits Beyond Freshness
Growing herbs from scraps also teaches valuable gardening skills and can be a fun project for kids or beginners. Plus, it promotes a zero-waste lifestyle by creatively upcycling plant material. Even a small windowsill herb garden brightens your kitchen ambiance and encourages healthier home cooking.
Conclusion
Turning kitchen scraps into fresh herbs is simple, sustainable, and satisfying. With just a jar of water and some patience, you can cultivate an evergreen supply of your favorite seasonings without stepping foot outside. So next time you finish cooking with herbs, save those scraps—you’re closer than you think to growing your own fresh harvest.
Start regrowing your herbs today, and enjoy the fresh flavors tomorrow!


